 Santease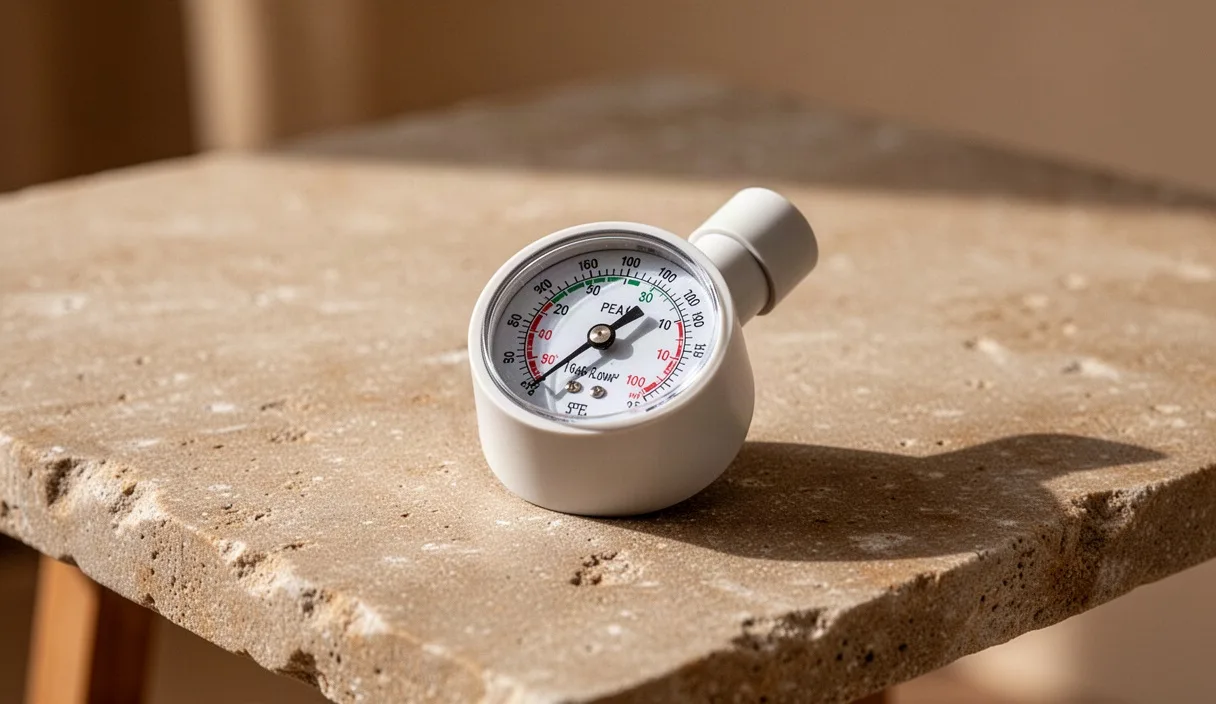
Measuring respiratory function at home provides a clear picture of lung health. Vital capacity shows the maximum volume of air expelled after a deep inhalation. This parameter is easily monitored with simple equipment for everyday use.
The procedure does not replace medical laboratory tests. However, it provides a continuous flow of data on breathing variations over time. A patient or athlete can identify changes before they develop into serious symptoms.
Definition of vital capacity
Vital capacity (VC) is a key indicator of respiratory capability. It is defined as the volume of air expelled from the lungs during a complete exhalation following maximum inhalation. This value is measured in liters or milliliters.
The measurement includes three distinct air volumes: tidal volume, inspiratory reserve volume, and expiratory reserve volume. It does not include residual volume, which is the air that always remains inside the alveoli so the lungs do not collapse.
In healthy adults, the expected value varies depending on sex, age, and height. A man with a height of 1.80 meters usually has a value close to 4.6 liters. A woman of corresponding height shows values close to 3.7 liters. Values naturally decline with age by about 25 to 30 milliliters each year after age thirty.
- Forced vital capacity (FVC): The volume of air exhaled with maximum speed and force.
- Slow vital capacity (SVC): The volume of air exhaled slowly and steadily without time pressure.
- Residual volume: The air that remains in the lungs even after the deepest possible exhalation, usually around 1.2 liters.
Types of portable spirometers
The market offers various devices for home use. Devices differ in recording method, accuracy, and connectivity. The choice depends on the monitoring purpose and the user's technical skills.
Mechanical spirometers operate without batteries or digital circuits. They use an internal piston or a small turbine that rotates with airflow. The reading appears on an analog gauge. They are durable for transport, but they do not store measurement history.
Digital portable spirometers include electronic pressure or ultrasound sensors. They often connect wirelessly to a mobile phone or computer. They automatically calculate vital capacity and compare the value with predicted population parameters.
| Device type | Measurement technology | Advantages | Limitations |
|---|---|---|---|
| Mechanical spirometer | Mechanical turbine | Low cost, no charging required | Manual recording, basic accuracy |
| Pocket digital | Electronic turbine | Data storage, instant display | Requires regular turbine cleaning |
| Ultrasound spirometer | Ultrasound sensors | High accuracy, no moving parts | Higher purchase cost |
Procedure for correct measurement
Proper body posture directly affects the result. The measurement is taken in a seated position with a straight back. Feet rest firmly on the floor. Wearing loose clothing around the chest and abdomen facilitates full diaphragm expansion.
The technique requires concentration and practice. Incorrect placement of the lips around the mouthpiece leads to air leakage. This results in falsely low values. Below are the steps for a valid home test.
- Preparing the device: Place a clean mouthpiece onto the measurement unit. Make sure the battery has sufficient charge and the display reads zero.
- Attaching the nose clip: Close the nostrils with a specialized plastic clip. If a clip is not available, gently pinch the nostrils with the fingers of one hand so all air passes through the mouth.
- Full inhalation: Inhale as much air as possible at a steady pace. Fill the lungs completely until your chest feels fully expanded.
- Sealing the mouthpiece: Place the mouthpiece between the teeth, above the tongue. Close your lips tightly around the plastic to prevent any leakage.
- Exhalation: Exhale all air into the device. The exhalation lasts at least six seconds, until the lungs are completely empty.
- Repeating and checking: Repeat the process three times with a two-minute rest interval. Record the highest value of the three attempts.
Recording and monitoring values
A single measurement provides limited information. The true value of the method lies in tracking fluctuations over weeks or months. Measurements should be taken at the same time each day, preferably in the morning before breakfast.
Keeping a log helps in understanding changes. Record the date, time, measured value in liters, and any symptoms, such as cardiovascular wellness or coughing, in the log. Also note the use of inhaled medications before the test.
If a digital application is used, the data is usually exported as a file or graph. A graph reveals gradual drops that are not noticeable from day to day. A steady decrease of more than 12% compared to your personal best requires contacting your attending physician.
Numbers are always evaluated based on your personal best baseline value. This value is established when your body is in a period of complete stability and health. General population values serve only as a general orientation guide.
Factors affecting the numbers
Respiratory capacity changes due to external conditions and daily habits. Eating a heavy meal pushes the diaphragm upward. This temporarily reduces the space available for lung expansion by 200 to 350 milliliters.
Body posture plays a decisive role. Measuring while lying down naturally shows a lower value by 8% to 14% compared to a standing or seated position. Blood pools more in the chest when the body is horizontal, limiting air space.
Room temperature and humidity also affect results. Very cold air causes a slight contraction of the bronchial smooth muscles in people with a sensitive respiratory system. In addition, spirometers are calibrated for an ambient temperature of around 21 to 23 degrees Celsius.
Physical fatigue and the time of day alter readings. Most people record their lowest values early in the morning, around six, due to natural circadian hormone rhythms. The highest values are usually observed in the afternoon, between four and six.
Medication and smoking
Sports nutrition medications temporarily increase vital capacity. If the goal is to measure baseline function, testing is performed before taking the dose, according to your doctor's instructions. In contrast, smoking a cigarette half an hour before testing reduces flow and causes recording errors.
Common measurement errors
The most common error is stopping exhalation prematurely. Many users stop blowing at four seconds, thinking they have emptied their lungs. A complete measurement requires continuous effort until the movement of the device sensor stops completely.
Another error involves air leaking from the corners of the mouth. When lips do not seal tightly around the plastic tube, air escapes into the room. This leads to an underestimation of the result by 400 to 600 milliliters.
Bending the neck forward during blowing narrows the upper airway. The head should be kept in a neutral, straight position. Also, blocking the mouthpiece with the tip of the tongue is a common mechanical obstruction that alters the readings.
Practical next steps
Start by choosing a reliable device that comes with clear calibration instructions. Before the first use, carefully read how to clean the mouthpiece. Equipment hygiene prevents moisture and germ buildup on the sensors.
Establish a consistent measurement routine. Choose the same time every day, ideally before breakfast. Make three attempts, record the best one in a notebook or digital app, and avoid continuous repetition throughout the day, as this tires the respiratory muscles.
Discuss the results with a pulmonologist. Bring your tracking log and the device itself to your next medical appointment. The specialist will check your technique, compare the portable measurement to the office spirometer, and guide you on which value limits require immediate medical evaluation.