 Santease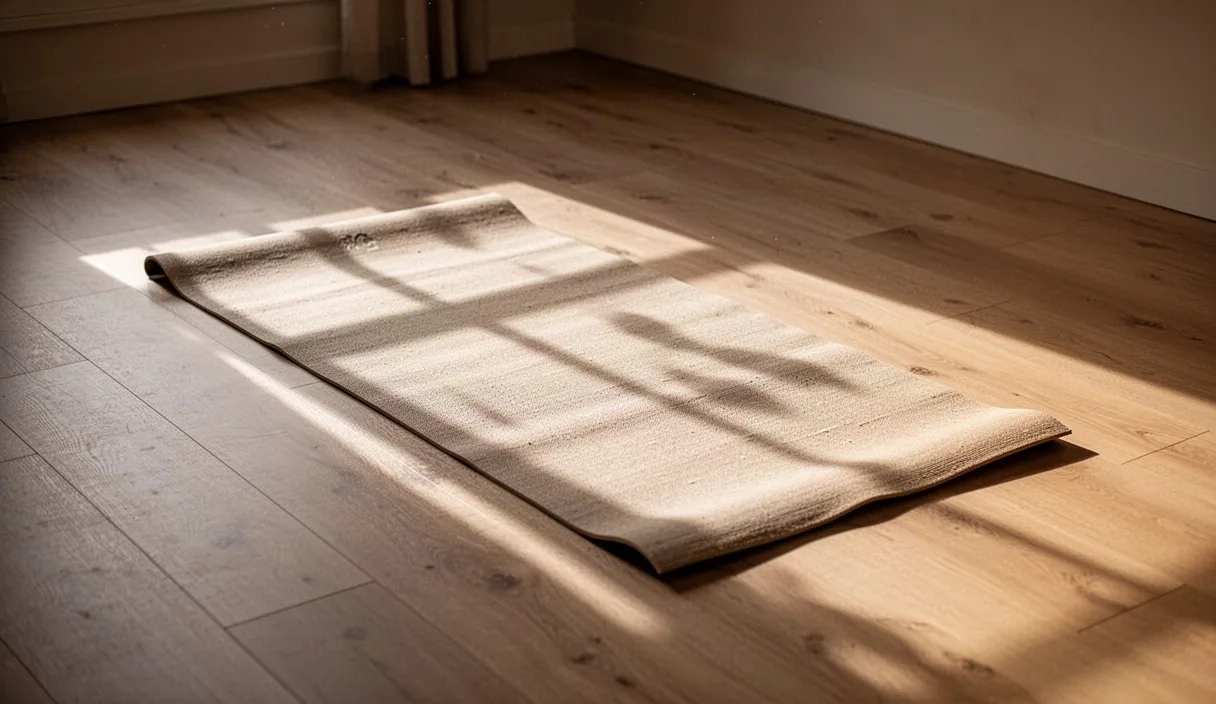
Breathing is a mechanical bodily function. The nervous system controls its rhythm automatically. Many adults breathe using the upper chest. This pattern restricts rib movement. The lower lobes of the lungs receive less air during each cycle.
Diaphragmatic breathing restores movement to the base of the lungs. It uses the diaphragm as the primary driver for air intake. This technique requires attention to detail. Proper implementation calls for regular monitoring and dedicated daily practice.
Anatomical position of the diaphragm
The diaphragm is a broad, dome-shaped muscle. It is located at the base of the rib cage. It separates the thoracic cavity from the abdominal cavity. On its upper side, it connects to the base of the lungs and the pericardium. On its lower side, it borders the liver, stomach, and spleen.
The muscle attaches to three distinct anatomical points on the skeleton. Anteriorly, it attaches to the back of the xiphoid process of the sternum. Laterally, it attaches to the inner surfaces of the lower six ribs. Posteriorly, it anchors to the first three lumbar vertebrae via two strong fibrous crura. These secure attachments allow the central portion to move freely.
At rest, the dome of the diaphragm arches up into the chest. During inhalation, muscle fibers contract. The dome flattens and descends toward the abdomen by 1.5 to 3 centimeters in quiet breathing. During a deep inhalation, this descent reaches 6 to 7 centimeters. This movement increases the vertical space within the thoracic cavity.
The descent of the muscle compresses the abdominal organs. The viscera shift forward and laterally. The abdominal wall stretches passively. During exhalation, the muscle fibers relax. The diaphragm returns to its original dome shape via the elastic recoil of the lungs.
| Parameter | Inhalation phase | Exhalation phase |
|---|---|---|
| Diaphragm state | Active contraction | Passive relaxation |
| Dome movement | Descent toward the abdomen | Ascent toward the chest |
| Intrathoracic pressure | Cardiovascular wellness | Pressure increase |
| Abdominal wall | Outward expansion | Inward return |
Hand placement on the body
Proper breath awareness requires tactile feedback. The hands serve as motion sensors. They do not press into the body. They rest lightly on the checkpoints to monitor mechanical movement.
Place one hand in the center of the chest. The contact point is the middle of the sternum, right between the nipples. Keep the fingers relaxed. The elbow rests on the floor or against your side to avoid straining the shoulder. This hand monitors the activity of the intercostal muscles.
Place the second hand on the abdomen. The palm rests 3 centimeters above the navel, over the epigastric area. The thumb points toward the lower ribs. Contact should be continuous without applying any pressure to internal organs.
Both hands provide clear feedback on the direction of air intake. The upper hand should remain still throughout the cycle. The lower hand should rise and fall at a steady rhythm. The variance in movement between the two hands reveals whether the breath remains chest-focused or becomes diaphragmatic.
- The hand on the chest remains still for 90 percent of the time.
- The hand on the abdomen registers a rise of 2 to 4 centimeters upon inhalation.
- Wrists and fingers stay completely relaxed.
- Shoulders do not shrug toward the ears at any point.
Execution in the supine position
The supine position is best when learning this technique. The body does not need to counter gravity to maintain balance. The spinal muscles relax completely. The back resting against the floor provides a stable base of support.
Use an exercise mat on a firm floor. An overly soft mattress distorts pelvic alignment. Bend your knees to roughly a 90-degree angle. Place your feet flat and parallel on the floor, hip-width apart. If you feel lower back tension, place a pillow under your knees for support.
Alignment and initial settling
Lie flat on your back with the cervical spine in a neutral line. Keep the chin slightly tucked toward the sternum. Place your hands in the monitoring positions. Close your eyes. Observe the natural rhythm of your breathing for 60 seconds without altering it.
Nasal inhalation
Inhale slowly through the nose for 4 seconds. The air enters silently. Direct the sensation of the breath into the lower abdomen. The lower hand begins to rise slowly. The lower ribs expand outward. The upper hand on the sternum remains virtually still.
Brief pause
Hold the breath for 1 second without tightening the throat. The glottis remains open. This pause allows pressures in the chest to balance. The shoulders remain resting heavily against the mat.
Controlled exhalation
Exhale gently through the mouth with lips slightly parted for 6 seconds. The air releases in a natural, effortless flow. The lower hand falls as the abdomen recedes toward the spine. By the end of the 6 seconds, the lungs are comfortably empty. Wait 1 second before the next inhalation.
Transition to a seated position
The seated position introduces the effect of gravity on the body. The abdominal organs press against the diaphragm from below. The core muscles activate to keep the back straight. Practicing in this posture prepares the body for daily activities.
Choose a stable chair with a flat seat. Avoid armchairs or chairs with a deep recline. Sit on the front half of the seat. Both sit bones should rest evenly on the surface. Position the pelvis in a neutral tilt, without rounding or overarching the lower back.
Stabilizing the base
Place your feet flat on the floor. The knees form a 90-degree right angle. The knees should align with the hips. If your feet do not reach the floor, place a solid support under your soles.
Adjusting the torso
Lengthen the spine upward. Imagine a thread pulling the crown of the head toward the ceiling. Relax the shoulder blades back and down. Place your hands on the chest and abdomen again for feedback.
Breathing cycle while seated
Inhale through the nose for 4 seconds. Feel the abdomen move forward and the lower ribs expand laterally by 2 cm. Do not let the body lean back. Exhale slowly for 6 seconds. Maintain the height of the spine as the abdomen draws inward.
Daily practice routine
Changing your breathing pattern takes time. The nervous system needs 6 to 8 weeks of regular practice to integrate the new movement. Two short sessions a day yield better results than one long, tiring session.
The target rate is 6 breaths per minute. This pace is achieved with 4 seconds of inhalation and 6 seconds of exhalation. Each full cycle lasts 10 seconds. A 5-minute session includes exactly 30 breathing cycles.
| Time of day | Body position | Duration | Number of cycles |
|---|---|---|---|
| Morning (upon waking) | Supine position on the floor | 5 minutes | 30 cycles |
| Midday (before lunch) | Seated position on a chair | 3 minutes | 18 cycles |
| Evening (before bed) | Supine position with a pillow | 5 minutes | 30 cycles |
Perform the morning session before having coffee or breakfast. An empty stomach allows the diaphragm to descend without obstruction. The midday session at the desk restores body awareness after hours of inactivity. The evening session eases skeletal muscle tension before rest.
Common mistakes
Paradoxical breathing is the most common mistake. In this case, the abdomen draws inward during inhalation and moves outward during exhalation. This reverse motion prevents the descent of the diaphragm. Placing your hands on your body immediately corrects this error.
Over-inhaling causes hyperventilation. Many practitioners try to take in too much air. This causes dizziness and tingling in the fingers within 2 minutes. Inhalation should remain calm and of normal volume, around 500 milliliters of air.
Shrugging the shoulders indicates activation of accessory respiratory muscles. The sternocleidomastoid and scalene muscles in the neck should not contract during calm breathing. If you notice movement in the neck, reduce the inhalation volume.
Forced exhalation creates unnecessary tension. Pursing the lips forcefully increases pressure in the airways. Exhalation should resemble the slow, effortless deflating of a balloon without manual pressure.
Next practical steps
Start practicing only in the supine position for the first 14 days. Do not rush to move to the seated position before the movement of the lower hand is stable. Track your sessions in a simple logbook to maintain consistency.
Once the seated position feels comfortable, apply the technique while standing. Stand with your feet shoulder-width apart and your knees slightly unlocked. Observe whether the diaphragm moves freely without back support. Standing practice takes 2 minutes at various times throughout the day.
In cases of chronic respiratory distress, a history of asthma, or severe lower back pain, consult a qualified pulmonologist or physical therapist before starting. Personalized guidance ensures that the technique is applied safely according to your body's specific needs.